HOME
Locating
History #10
Relocation
Resto Begins
Disassembly
Lots of Rust
Components
Sand Blasting
New Barn
Electrical
Engine
Transmission
Shifter
Hubcaps
Tires
Roof
Bumper
Body
Interior
Dash
Drive Shaft
Differential
Gas Tank
Brakes
Metalwork
Photos:
2012 - 2011
2010 -
2009
2008 - 2007
2006 - 2005
2004 - 2003
2002 - 2001
2000 -
1999
Status
|
| Five drive shafts
were removed along with all the universal joints. Everything was disassembled and and
prepared for sandblasting. All the needle bearings are in excellent shape and only need to
be repacked upon reassemble. They did find that the carrier bearing was bad and it will
have to be replaced. |
Volunteer Del Carpenter works at disassembling one of five drive shaft sections. With
large hammer and chisel in hand, Del offers a little friendly persuasion to the badly
rusted parts. |
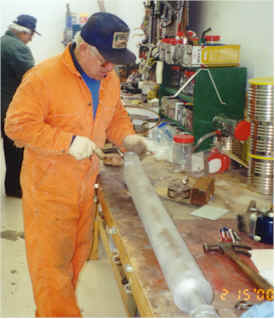
Del cleans up one of the longer drive shaft sections on a workbench. |
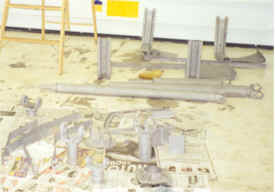
Here the parts have been sand blasted and await a coat of primer. |
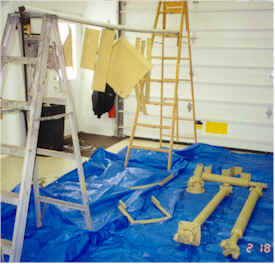
Two step ladders serve as clothesline posts for freshly painted parts. The drive shafts
and u-joints lie on the tarp. These finished parts will be stored on shelves until they
are needed for reinstallation. |
|